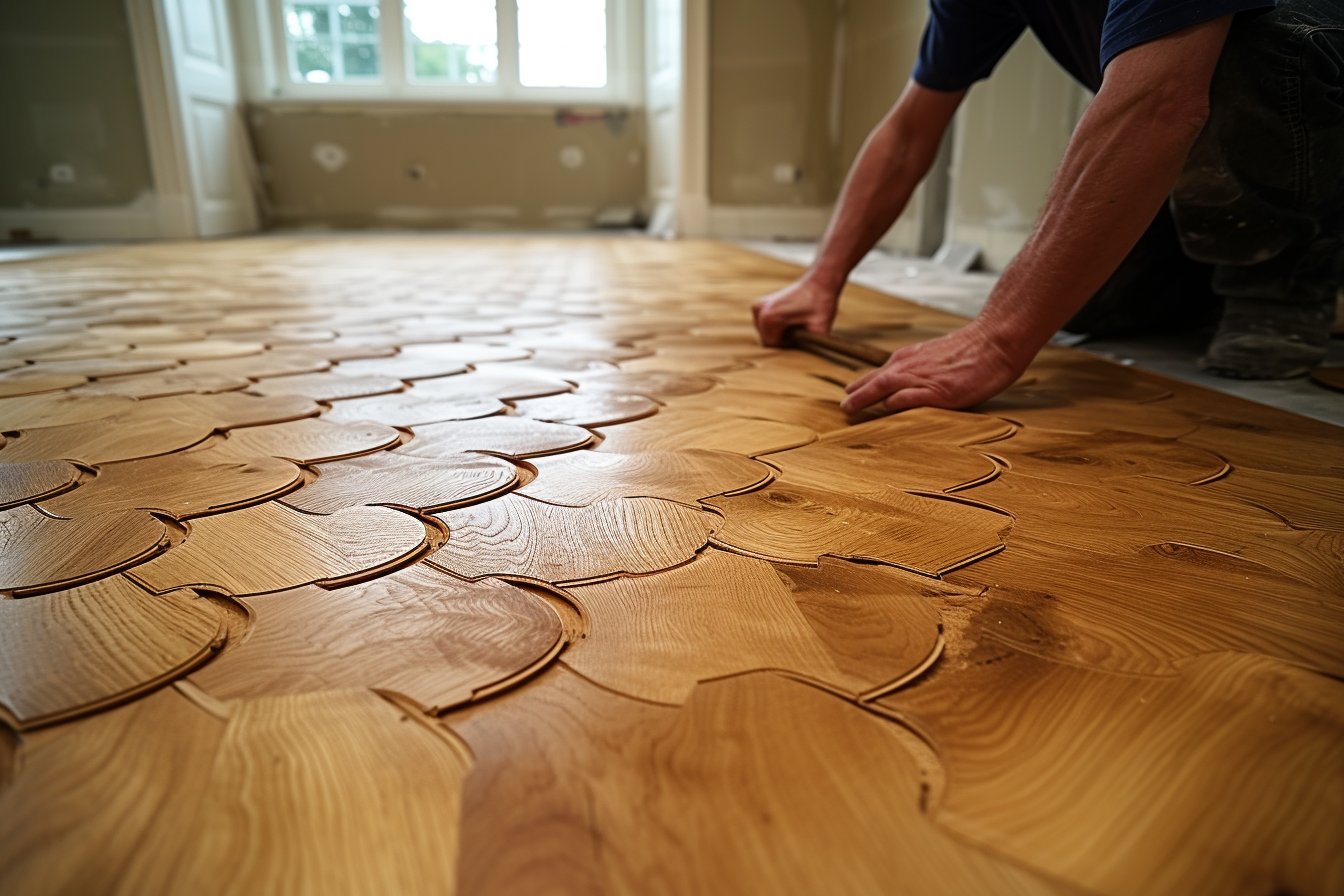
Solid parquet is a floor covering that is particularly popular for its authenticity and the warmth it brings to a room. To lay this type of parquet on a wooden floor, it is essential to prepare the subfloor properly and choose the right technique.
Preparing the surface: the essential steps
To successfully lay your solid parquet on a wooden floor, it’s crucial to check the condition of the subfloor to ensure a long-lasting, trouble-free installation. Here are the steps to follow:
- Determine the nature of the floor: Before you start, make sure the floor is in good condition and can bear the weight of the solid wood floor. Check that the joists are sound and strong enough, and make sure that the floor is not subject to movement and shrinkage.
- Check the humidity: Too much humidity can cause problems such as swelling or shrinking of the floor. Use a hygrometer to check the humidity in the room and on the floor. The ideal humidity level is between 45% and 65%.
- Clean the floor: It is essential to start laying on a clean, dust-free surface. Also remember to check that the levels between the different joists are similar, and if necessary, correct any differences with shims.
Installation methods: nailed or glued?
Once the surface has been prepared, you’ll need to choose the installation technique best suited to your situation. Here are the two main methods:
- Nailed installation: This technique involves fixing the floorboards to the joists using nails. It provides greater stability for the flooring and is recommended for rooms subject to high levels of humidity, such as bathrooms and kitchens. To use this method, lay the boards perpendicular to the joists and nail each board through the tongue;
- Glue-down installation: Glue-down installation involves using a special glue to fix the floorboards directly to the wooden floor. This technique is simpler to install than nail-down installation and reduces footfall noise. However, it requires a perfectly level surface and controlled humidity levels.
The choice of method will therefore depend mainly on the condition of your wooden floor and your needs in terms of comfort and aesthetics.
Advantages and disadvantages of each method
To help you choose the technique that’s best for you, here’s a comparison of the advantages and disadvantages of each:
- Nail-down installation :
- + Better parquet stability;
- + Suitable for damp rooms;
- – Requires good technical expertise to avoid installation errors;
- – Can lead to squeaking if incorrectly laid;
- Glue-down installation :
- + Easier to lay ;
- + Reduces footfall noise;
- – Requires a perfectly flat, dry surface;
- – Less suitable for very damp rooms.
Steps in nail-down or glue-down installation
Now that you’ve chosen your installation method, here’s an overview of the different stages involved in installing your parquet on a wooden floor:
- Laying: Always start by laying the boards perpendicular to the joists, making sure to leave an expansion gap of around 8mm between the wall and the parquet. If you opt for nail-down installation, use a special nailing machine; if you prefer glue-down installation, apply glue to the wooden floor and press the boards firmly together.
- The joint: Depending on the recommendations and the type of flooring chosen (grooved or ungrooved), it may be necessary to make a joint between the boards using a special resin. This step guarantees a professional finish and improves the stability of the flooring.
- Maintenance: Once your floor has been laid, remember to protect it from scratches and other damage with felt pads under furniture and possibly a carpet. Don’t hesitate to check out our tips and advice ontrendy bathroom accessories.
By following these steps and choosing the technique best suited to your situation, you’ll be able to lay your solid parquet successfully on a wooden floor and achieve a professional, long-lasting result.
